
Safety and Trail Etiquette
SxS Trail Etiquette
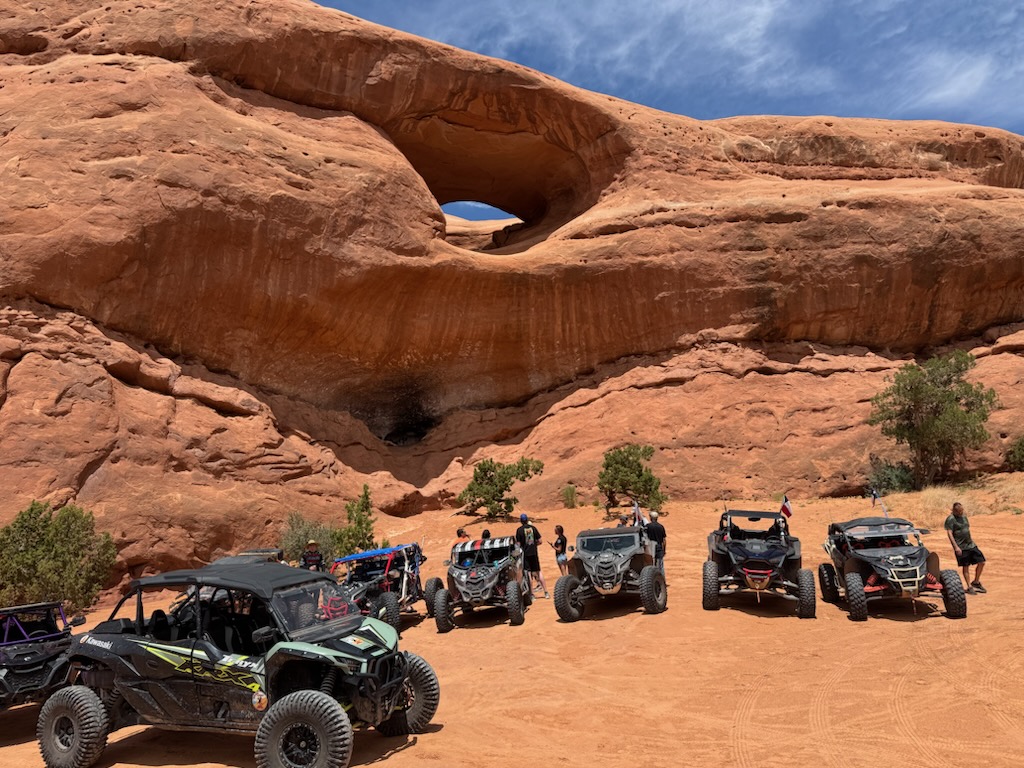
Side-by-side trail etiquette: right of way, passing, dust and speed near camps, group spacing, staying on marked trails, and packing out trash.
Quick answer
Trail etiquette means making your movements predictable and leaving other people room to enjoy the same riding area. Follow posted rules, communicate before passing, and keep your group organized without blocking traffic. Your choices around dust, noise, closures, and litter matter beyond the moment you drive through.
Responsibility starts before the first trail junction. Learn the local direction and access rules, agree on group communication, and know how to reach staff if a problem develops. Courtesy cannot replace a formal restriction, but it helps you apply the rules without creating avoidable conflict.
Right of way and passing
Formal right-of-way rules can vary by destination and route. Read the operator’s map and posted instructions rather than assuming the custom from your usual park applies everywhere. Where local guidance addresses uphill or downhill traffic, give that movement the space it calls for and avoid crowding a narrow section.
Slow when approaching another trail user and establish communication before deciding how to pass. A wave or acknowledgment can help clarify intent, but neither person should feel pressured to move onto unsafe ground. Wait for an appropriate, permitted space instead of turning a meeting into a hurried maneuver.
Avoid blind passes around corners, rises, or dust-obscured stretches. The gap you can see beside another machine does not establish what is approaching beyond it. Leave yourself a clear view and sufficient room to complete any permitted pass without forcing someone else to brake or leave the route.
If a faster rider approaches from behind, choose a suitable place to let them through when you can do so safely. Communicate and move predictably rather than stopping abruptly in the travel lane. You do not need to match their pace or attempt unfamiliar terrain to avoid holding them up.
Treat pedestrians and other permitted trail users with care. Give them time to recognize your approach and allow space appropriate to the setting. Follow local shared-use instructions, and never assume a louder machine establishes priority.
Group riding: leader, sweep, spacing and hand signals
Choose a leader who knows the planned route and a sweep who stays with the final part of the group. Everyone should know how to contact them and what to do after losing the group. A sweep is useful only when the group agrees not to leave a struggling rider behind unnoticed.
Set a pace that works for the drivers and passengers attending. Maintain enough space for visibility and braking, with additional room when dust or terrain reduces sightlines. Do not close a gap by driving beyond what you can see simply because the leader has moved ahead.
At junctions, keep following riders informed without parking across the intersection. Wait in an appropriate visible position when necessary, or use the agreed communication method to confirm the turn. Tire tracks and a distant engine sound are poor substitutes for a route plan.
Discuss hand signals before departure if your group intends to use them. Informal signals can communicate useful information, but meanings differ and they are not universal legal rules. Do not assume an approaching driver interprets a raised hand exactly as your group does.
Identify a regrouping location and a response to lost contact. If someone misses a turn, the rest of the group should avoid scattering across several trails to search without coordination. Use the plan and contact staff when the situation requires help beyond the group’s information.
Dust, speed and noise near camps
Slow around people, campsites, staging areas, and other places where someone may step into a lane. A speed that feels modest from the driver’s seat can still produce dust or surprise pedestrians. Give yourself room to respond and avoid unnecessary acceleration beside occupied sites.
Dust can drift into meals, tents, and other vehicles long after you pass. Reduce the amount you create by controlling pace and leaving room instead of repeatedly accelerating to close gaps. Pay attention to dry conditions and nearby people rather than waiting for someone to complain.
Respect quiet areas and the operator’s noise policies. Avoid unnecessary revving, repeated idling near sleeping spaces, or loud camp activity that affects neighboring visitors. Plan machine movement so returning to camp does not become a disturbance to everyone nearby.
The Tigerton OHV Park and Campground page currently lists a 96 dB maximum restriction. That is a location-specific example, not a noise standard you should apply to other parks. Confirm the current requirement and any measurement procedure with the operator before relying on your setup.
Staying on marked trails and respecting closures
Follow signed routes and authorized travel directions. A worn track through vegetation or around a gate is not evidence of permission. If the map and signs are unclear, pause at a suitable location and ask the operator rather than expanding the riding area through guesswork.
Respect closures even when the trail beyond them appears rideable. They may protect a restoration area, separate traffic from work, or address a condition you cannot see from the entrance. Riding around the barrier undermines that purpose and can expose other visitors to the same uncertain route.
Private property boundaries deserve the same attention as trail signs. Do not cut through neighboring land to shorten the return or connect two destinations without authorization. General navigation apps can show paths without establishing OHV access, so use the controlling area’s maps and instructions.
Stay within permitted routes when stopping or allowing someone to pass. Driving onto a restoration patch or creating a new shoulder can damage ground beyond the original travel corridor. Wait for a suitable opening instead of treating vegetation as spare trail width.
Pack out trash, including small items that fall from pockets or a machine. Secure bags so wrappers do not escape while moving, and inspect your stopping place before leaving. Use designated disposal arrangements where provided rather than leaving waste beside a trail or overflowing container.
Helping a stuck or broken-down rider safely
Stop in a suitable place out of traffic before offering help. Make sure approaching riders can recognize the obstruction without encountering people or parked machines in a blind section. Keep access available for staff or recovery vehicles rather than surrounding the problem with your entire group.
Ask the driver what happened and establish who is directing the response. A mechanical failure, an occupant concern, and a stuck machine may need different assistance. Contact park staff when the situation exceeds your training, equipment, or ability to provide a safe working area.
Keep people clear of recovery lines and the potential movement of both machines. Use compatible, rated equipment within its instructions and appropriate recovery points. Avoid an improvised tow or pull simply because several willing helpers are present; agreement does not make an unsuitable attachment safe.
If no controlled recovery plan is available, communicate the location and wait for appropriate assistance. Verify current rules for recovery with staff rather than assuming every trail permits the same response. Helping can mean keeping the route clear and getting accurate information to the right people.
FAQ
Are group hand signals understood everywhere?
Groups and riding areas may use different signals, so discuss meanings with your companions first. Confirm intent directly when interacting with unfamiliar riders instead of assuming a gesture establishes right of way.
Should your whole group stop beside a disabled machine?
Keep only the people and vehicles needed for appropriate assistance in a suitable area. Have the others wait at an agreed safe location so traffic and recovery access remain available.
What if a shortcut looks widely used?
Visible tracks do not establish permission to leave the signed route or enter private land. Check the operator’s map and access instructions before treating the path as part of the riding system.