
Beginner Guides
Beginner SxS Riding Guide
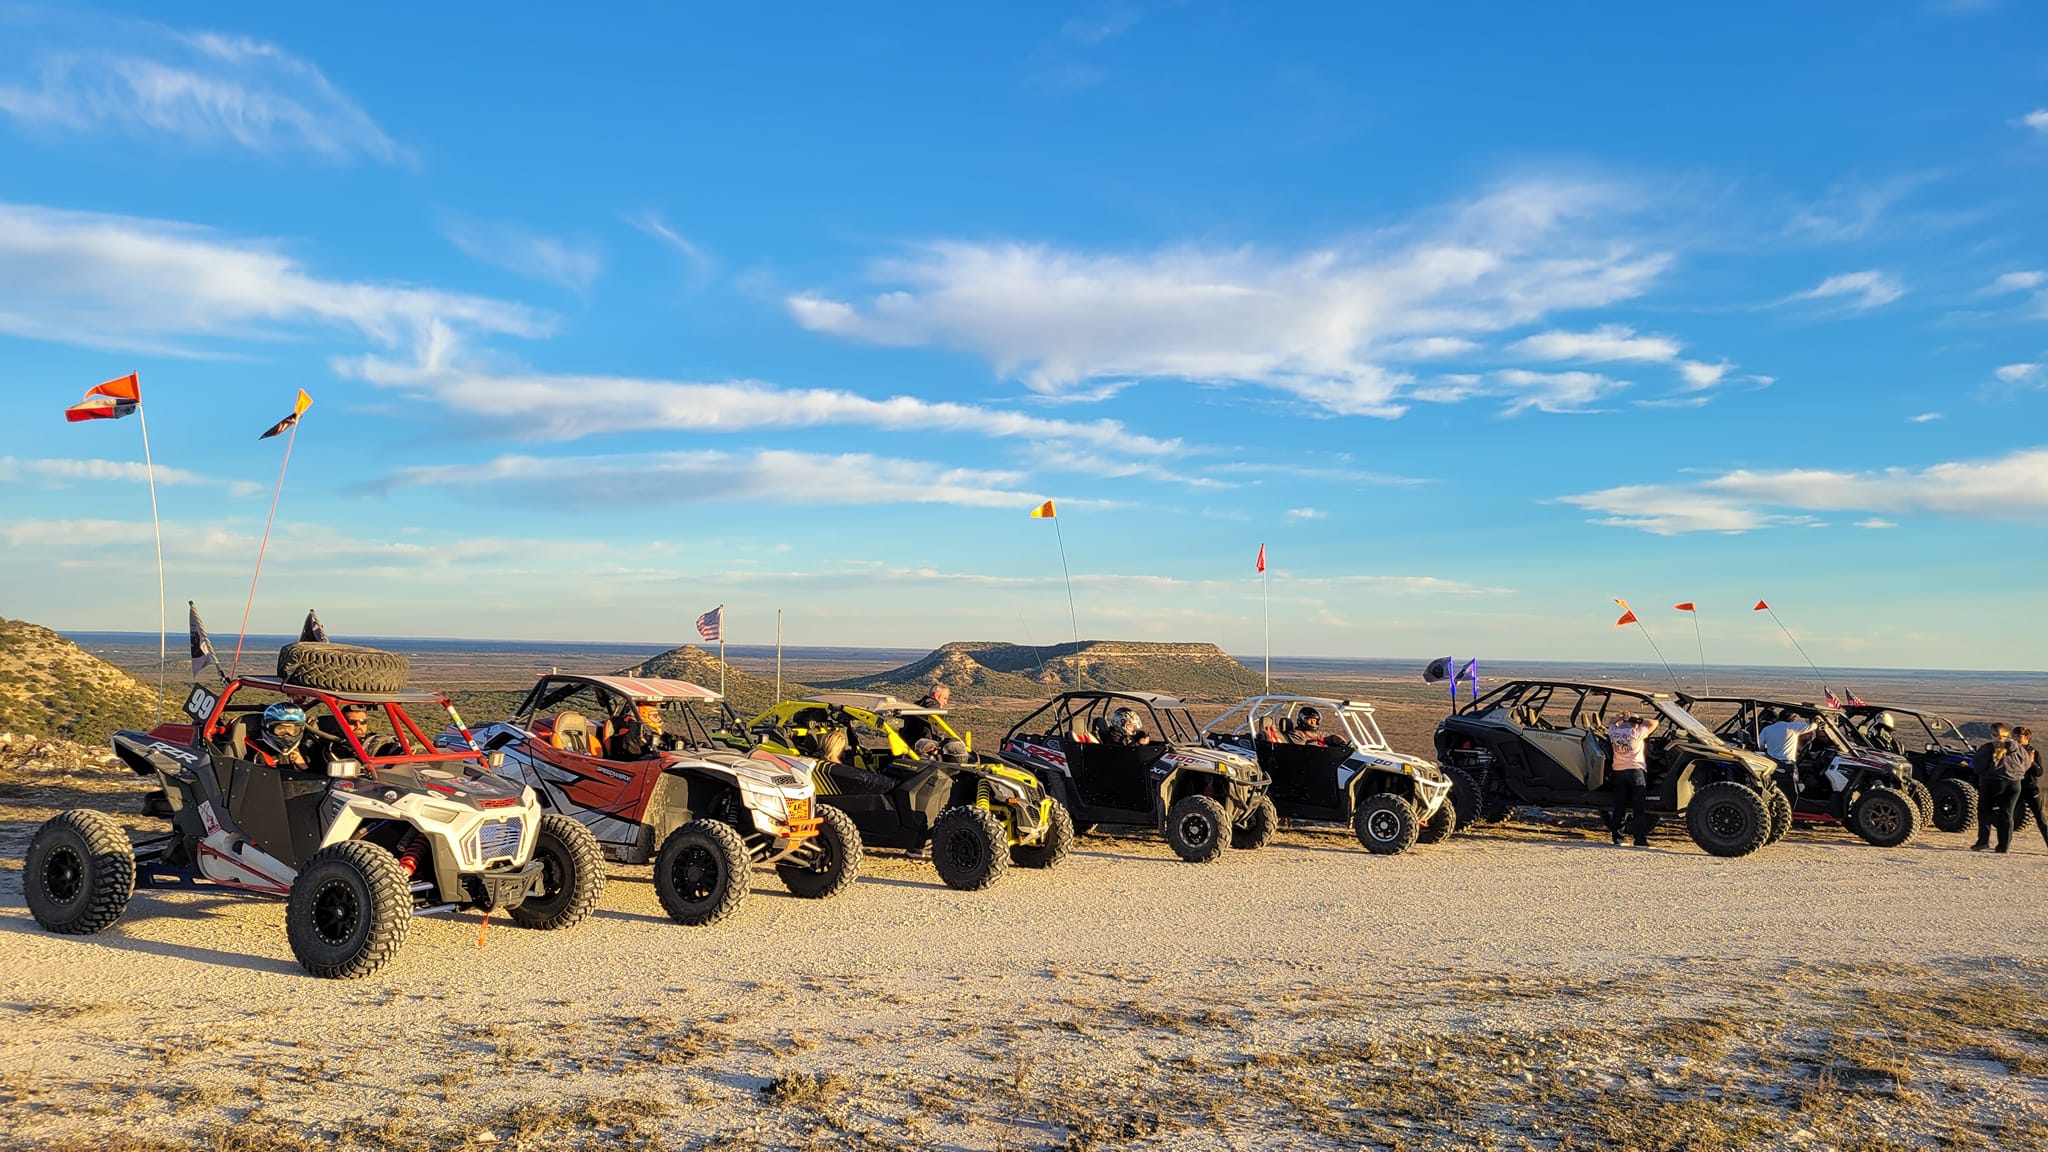
First time in a side-by-side? Pick a beginner-friendly park, learn the controls, gear up, and ride your first trail with confidence.
Quick answer
Your first side-by-side ride should give you room to learn the machine without feeling rushed. Choose a manageable route, inspect the vehicle, and practice its controls in a permitted open area before entering a trail. A short outing with a comfortable return plan can teach you more than a long day spent trying to keep up.
Make one experienced, patient rider your point of contact if you ride with others. Explain that you are learning and want straightforward trails with opportunities to stop. You can build confidence through smooth inputs and sound decisions without tackling an obstacle just because someone else does.
Pick a beginner-friendly place
Start with the parks and trails directory, then evaluate the routes within each destination. A location can contain both easy travel and demanding obstacles, so its name or broad terrain category is not enough. Look for published difficulty information and ask staff which currently open routes suit a new driver in your model.
Match the terrain to your experience. Deep mud, steep climbs, tight rocky passages, and sand crests introduce challenges that make learning basic controls harder. A more forgiving initial route gives you time to judge the machine’s size, braking response, and visibility before adding complicated terrain.
Choose a riding area you can understand on a map. Identify the staging area, a short initial loop or out-and-back option, and a practical way to return if you become tired. Check whether routes are directional and whether there are approved bypasses around harder sections.
Verify machine access before the trip. Width limits, permitted vehicle classes, and local operating policies may affect even an otherwise suitable trail. Ask about current venue requirements and confirm any rental instructions if you are using someone else’s machine; permission and familiarity are separate parts of preparation.
Gear checklist
Organize your gear by the problems it helps you handle. Pick riding protection appropriate to the vehicle and conditions, and confirm the operator’s equipment rules. Fit and comfort matter because loose, poorly adjusted, or distracting equipment can make it harder to concentrate.
- Riding protection: appropriate helmet, eye protection, footwear, and clothing selected with the venue and manufacturer guidance in mind.
- Weather protection: layers and rain coverage you can reach when conditions change, plus protection from sun exposure.
- Water and food: enough for the planned outing and a delay, kept where passengers can access them during breaks.
- Navigation and communication: a saved trail map, charged devices, and an agreed method of contacting your group.
- Basic recovery supplies: compatible equipment you understand, rather than an unfamiliar collection bought immediately before departure.
- First aid: a useful kit, personal medical essentials, and a way to identify where help should be sent.
Secure everything before driving. Loose bottles and tools can shift under braking or bounce around on rough ground. Keep essential items accessible without placing them where they interfere with pedals, restraints, or passenger movement.
Pre-ride check
Use the manufacturer’s inspection and maintenance guidance for the exact machine. Check tires for damage and pressure appropriate to the setup, and inspect wheel attachment as directed. Look for fluid leaks and verify fluid levels using the specified procedure rather than assuming a parked vehicle is ready.
Inspect the drive belt or CVT components according to the manual and your level of knowledge. An inaccessible belt is not a reason to dismantle an unfamiliar system at the trailhead. Resolve warning indicators, unusual smells, or known belt problems before the ride, and learn which gear range the manufacturer recommends for your conditions.
Check lights, steering response, and brakes in a controlled setting. A brake pedal that feels different from expected or steering that binds needs attention before you join traffic. Confirm where important switches are located so you do not search for them while moving.
Inspect seat belts or harnesses, doors or nets, and their attachment and closure points. Adjust each occupant’s restraint for their seating position and follow the manufacturer’s passenger guidance. Ask your passenger to tell you about discomfort or a loose closure before you leave the staging area.
Driving basics
Begin with gradual throttle input and enough room to stop comfortably. Abrupt acceleration can make an unfamiliar machine feel unpredictable, especially on loose surfaces. Learn how it responds at a modest pace instead of using speed to cover uncertainty.
Practice controlled braking before the trail gets narrow or steep. Give yourself extra stopping room when traction is reduced, and slow before a turn rather than arriving too quickly. Keep your attention well ahead while still checking the nearby ground for changes that affect tire placement.
On climbs and descents, choose an appropriate route and keep the machine aligned with the slope where the terrain and guidance allow. Side hills can create stability concerns that are difficult to judge from the driver’s seat. If a route demands positioning you do not understand, stop at a safe decision point and get qualified guidance or choose another trail.
Approach a water crossing slowly enough to evaluate it before entry. Depth, current, the bottom, and the exit can be unclear, and another vehicle’s crossing does not establish your machine’s limits. Stay out when you cannot assess the conditions within manufacturer guidance; recovery is not a beginner driving exercise.
Give yourself permission to pause. A passenger’s concern, changing weather, fatigue, or an unfamiliar obstacle is useful information. Make the decision before committing to a section where stopping or returning becomes more difficult.
Riding with a group
Agree on a pace and spacing that allow you to see and brake without crowding the machine ahead. Dust may require a larger gap, but your group should still have a way to notice a missing rider. Read the trail etiquette guide for group organization and predictable passing behavior.
At an intersection, make sure the following rider understands the turn before continuing. Wait where you can be seen without blocking the junction or putting the machine in approaching traffic. Do not rely on fresh tire marks to identify the group’s route.
Choose stopping places with space for others to pass, and tell the group when you need a break. Establish simple radio messages or other communication before departure. If you lose contact, use the agreed regrouping plan rather than speeding through unknown intersections to catch up.
Common first-ride mistakes
Planning too much trail time can turn normal learning fatigue into hurried decisions. Leave room for orientation, breaks, and an early return. You do not need to complete every route on the map to have a useful first day.
Another common mistake is copying another machine’s setup without understanding the difference in tires, dimensions, or controls. Keep your initial configuration within the manufacturer’s guidance and ask specific questions when something feels unfamiliar. Record what worked after the ride so the next outing builds on experience rather than guesswork.
FAQ
Should you rent before buying a side-by-side?
A rental can help you learn whether the seating, controls, and trip style suit you. Ask the provider about orientation, route limitations, and responsibilities for damage before making the booking.
How long should your first trail ride last?
Choose a short segment with a straightforward return rather than setting a mileage goal. Extend the day only while you and your passengers remain comfortable, alert, and able to return without rushing.
What if the group wants a harder trail?
Tell the leader before the route splits and agree on a suitable alternative or return plan. A dependable group keeps you informed and avoids making participation depend on an obstacle beyond your experience.