
Tires & Wheels
SxS and UTV Tire Pressure Guide
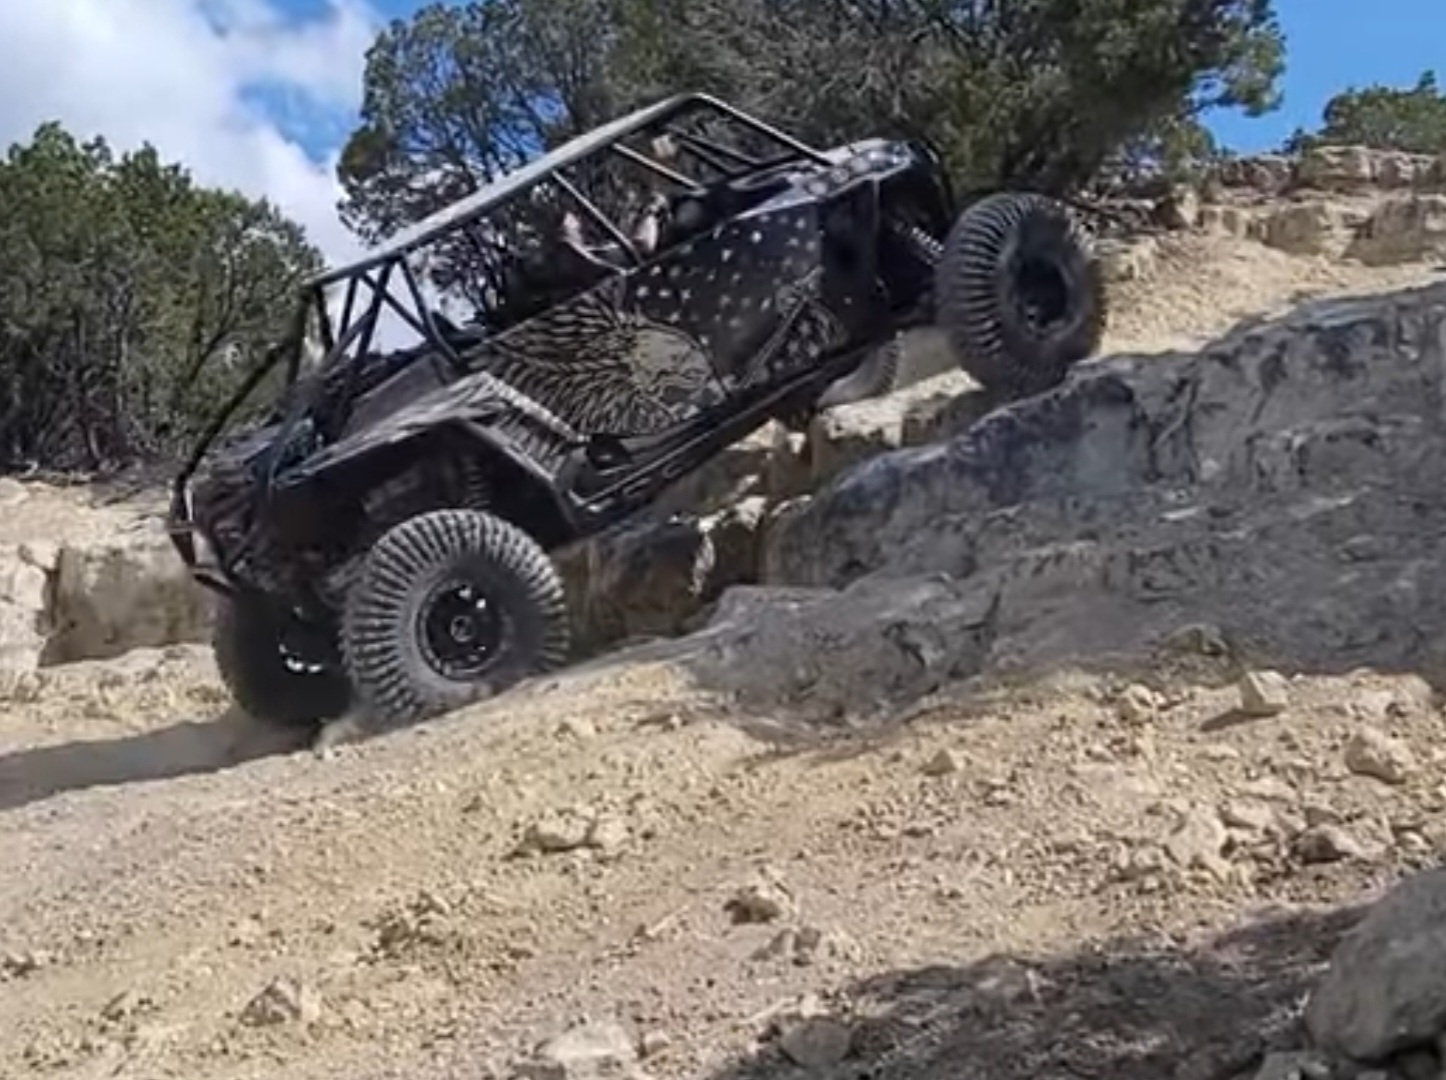
Learn how to set SxS tire pressure for trails, rocks, mud and sand, why PSI changes handling and traction, and how beadlocks affect low-pressure setups.
Quick answer
Start with the pressure specified for your machine and tire setup by the applicable manufacturer documentation. Official OEM pressure specifications vary significantly between SxS models, and replacement tires or wheels may need additional guidance. Do not copy another rider’s PSI simply because their vehicle is also a side-by-side.
Terrain, load, wheel design and tire construction influence how you evaluate pressure changes. The useful question is how your verified starting setup behaves under your riding conditions. This guide teaches a process for understanding that behavior without publishing a universal UTV tire PSI recommendation.
Resolve conflicting vehicle and replacement-component instructions with the manufacturers before riding. Record the answer for your exact setup, load and any front-to-rear difference.
Maximum tire pressure is not your universal riding pressure
A tire’s sidewall pressure and load markings describe limits or specified conditions associated with its rating. The vehicle’s pressure specification addresses the machine’s intended configuration and use. Your operating setup must account for both the vehicle and the fitted tire rather than treating a single sidewall number as the whole answer.
Do not inflate to the highest sidewall number unless the applicable tire and vehicle documentation specifically requires that pressure for your situation. Likewise, a vehicle specification for factory tires does not automatically settle an unfamiliar replacement package. Read the instructions and confirm compatibility when the combination changes.
Bead-seating pressures are installation instructions with separate limits. Have a qualified installer handle mounting questions instead of experimenting with inflation.
What lower tire pressure changes
Lower pressure generally permits greater tire deflection. Depending on the carcass and load, the contact patch may become larger and the tire may conform more closely to uneven ground. That can support traction or flotation in some off-road conditions.
The same deflection can bring bead unseating, sidewall roll, rim impact or pinch damage. Extra carcass movement can generate excess heat, particularly when speed and repeated loading increase. Steering may become less precise if the tire deforms beyond what the setup can support.
More visible flex does not prove a setting is better. Evaluate load support alongside traction, remaining within manufacturer limits.
What higher tire pressure changes
Higher pressure generally reduces carcass deflection and creates a firmer response. It can provide more rim protection in some impact situations and may reduce rolling resistance by limiting deformation. Those potential benefits do not establish that adding air improves every ride.
Tradeoffs can include harshness, a smaller or less compliant contact patch and reduced grip on some surfaces. A tire that skips across uneven rock may offer less useful contact than an appropriately supported, more compliant setup. Handling still depends on tread, suspension and speed.
Higher pressure is not automatically safer. Excessive inflation can conflict with operating requirements, so evaluate feel within the documented setup.
Trail and hardpack pressure considerations
Trail riding can combine cornering loads, repeated impacts and sustained speed. A setting that seems comfortable while creeping through a staging area may behave differently on a faster gravel section. Predictable steering and sufficient support deserve attention alongside ride softness.
Watch for heat, vague response and repeated bottoming impacts as the ride develops. Load changes from passengers, tools or cargo also matter, so compare the configuration with the manufacturer’s instructions. Do not compensate for an overloaded machine by guessing at a new pressure.
Evaluate a familiar, permitted section at an appropriate pace. When switching from slow obstacles to faster hardpack, reinstate the required setup for that use when applicable.
Rock-crawling pressure considerations
At low speed, riders often seek enough compliance for tread to follow irregular rock instead of bridging it. Carcass construction and sidewall support determine how the tire responds to that goal. A stiff design and a flexible design can look and feel quite different under the same machine.
Bead retention and rim protection still matter while crawling. A tire trapped against an edge can suffer damage even if speed is low, and unsupported sidewall movement can change your line. Functional beadlocks can address part of the retention question but do not solve every pressure-related concern.
Choose permitted adjustments using the exact tire and wheel guidance. Do not treat someone else’s extremely low setting as a target to reach. Controlled traction is useful only when the tire remains appropriately supported for the load and obstacle.
Sand and dune pressure considerations
In sand, pressure affects footprint and flotation, but construction determines how the tire uses that footprint. Front tires must guide the vehicle without excessive digging, while rear tires provide propulsion. A dedicated sand tire and a trail tire do not necessarily respond alike to an adjustment.
Paddle or blade design, tire volume and machine load belong in the decision. Lower pressure cannot turn ordinary trail tread into a dedicated dune configuration, and excessive deflection can undermine steering or support. Check the instructions for the front and rear sand tires you actually have.
Plan through the sand and dune riding directory, then verify current rules with the official operator. Establish the required setup before the trip and carry equipment to measure and restore it. There is no single dune PSI that covers every vehicle and tire combination.
Mud pressure considerations
Some mud setups seek more footprint to support the machine on soft ground. Others rely on a narrow tire cutting downward to reach useful bite. Mud depth, consistency and the underlying surface can change which behavior helps.
Tie pressure strategy to the specific tire design and vehicle rather than assuming lower is always better. Excessive flex may alter how a tall lug works or how the carcass supports the load. A pressure change cannot resolve unsuitable tread or an obstacle beyond the machine’s capabilities.
Compare the terrain-based tire characteristics before using inflation to chase a different tire’s behavior. Your mud tire’s intended cutting or flotation approach provides context for evaluating any manufacturer-permitted adjustment.
What beadlock wheels actually do
A functional beadlock mechanically clamps a tire bead to the wheel. This can improve bead retention when operating at lower off-road pressure, subject to the wheel and tire requirements. Decorative simulated beadlock rings do not provide that mechanical clamping function.
Beadlocks do not eliminate sidewall damage, rim impacts, tire roll or carcass damage. They also do not make incorrect pressure harmless. Many designs clamp one bead, so understand the actual wheel design rather than assuming every part of the tire is equally restrained.
Follow the wheel manufacturer’s installation, inspection and fastener maintenance instructions. Beadlock tire pressure remains a question about the complete loaded assembly, not a special number granted by the ring. Confirm any restrictions on the intended use of the wheel.
Why tire construction changes the correct feel
Radial and bias construction arrange internal cords differently, influencing how the assembly flexes. Sidewall stiffness, reinforcement and the tire’s load rating affect how it supports the vehicle. Ply rating or construction type alone cannot predict the pressure that will feel right.
Tire weight, machine weight and air volume also influence behavior. A larger-volume tire can respond differently from a smaller one, and adding passengers changes the load it must carry. Another rider’s pressure may feel completely wrong when those variables differ.
Use the UTV tire size guide if you have changed diameter, width or wheel configuration. Record those changes in the pressure log so you do not apply observations from an old assembly to a new one without review.
Front and rear pressures do not always need to match
OEM specifications themselves can differ between the front and rear axles. Axle load, vehicle configuration, tire sizing and intended handling can contribute to that difference. Equal-looking tires do not establish that both ends require the same setting.
Check each axle against its specification rather than copying another model’s difference. Review the documented loaded configuration when cargo or passengers change.
How to tune SxS tire pressure methodically
Establish the permitted operating requirements before making adjustments. If the documentation does not support a change for your setup, seek manufacturer clarification rather than using trial and error below its limits.
- Check the machine and tire manufacturer’s requirements, along with relevant wheel instructions.
- Measure cold pressure with a reliable low-pressure gauge suited to the operating values.
- Record the tire, wheel, passenger and cargo load, and starting pressures at both axles.
- Make small, controlled changes within the permitted limits instead of large jumps.
- Repeat the same short terrain section where practical, keeping pace and line comparable.
- Evaluate steering, traction, sidewall movement, impacts and ride quality together.
- Inspect the tire and wheel for damage, abnormal movement or developing problems.
- Recheck pressure when temperature, conditions or the vehicle’s load changes.
- Reinstate the required setup before faster or different riding when applicable.
Use one reliable gauge consistently and check its condition. Cold means following the manufacturer’s measurement conditions, before riding has warmed the tires. Avoid chasing a cold specification by bleeding a hot tire unless the applicable instructions call for that procedure.
Change one variable at a time so the result means something. A different passenger load, route and pace can overwhelm the effect you are trying to evaluate. Stop the comparison if handling becomes concerning or inspection reveals damage; do not complete a test section merely to gather another observation.
Signs your pressure may be too low
Excessive sidewall fold, noticeable tire roll in turns, bead movement and repeated rim strikes deserve immediate attention. Vague steering, abnormal heat or visible carcass distress can also indicate inadequate support. Stop in an appropriate place and inspect instead of continuing to see whether the behavior improves.
These symptoms can also involve damage, load, wheel compatibility or mechanical problems. Check the documented setup and condition before simply adding air and returning to the route. A damaged assembly needs assessment even if restoring pressure changes its feel.
Signs your pressure may be too high for the terrain
Harshness, excessive bouncing or skipping, and poor conformity over rocks can suggest a setup that is too firm for the conditions. Reduced flotation or a lack of grip compared with an appropriate compliant setup may be useful observations. Compare them under similar conditions within the manufacturer-permitted setup.
Pressure is not the only possible explanation. Suspension adjustment, tread choice, speed and surface changes can produce similar symptoms. Verify the measured setting before diagnosing the tire from feel alone, and do not move outside operating requirements to mask another issue.
Keep a tire-pressure log
Use a phone note or notebook that stays with the vehicle. Create a separate entry for each meaningful setup change, and identify whether the measurements were cold or taken after riding. That makes your experience repeatable instead of relying on a remembered number.
Record these fields without leaving out the wheel and load:
- Tire make, model and exact size.
- Wheel model and whether it uses a functional beadlock.
- Front PSI and rear PSI, measured with the same gauge.
- Terrain, weather and approximate riding pace.
- Passengers, cargo and other relevant load details.
- Starting manufacturer specification and any clarified operating limits.
- Ride feedback about steering, grip, deflection and impacts.
- Inspection findings and the setting restored for the next riding conditions.
Compare equivalent configurations. A successful light-load rock session cannot establish a setting for faster, loaded trail riding; use the log to identify questions worth investigating.
FAQ
What PSI should I run in my SxS tires?
Use the applicable manufacturer documentation for your exact vehicle, tires, wheels and load. Begin there and evaluate behavior methodically within those requirements instead of adopting a universal number.
Can I run lower pressure with beadlocks?
Functional beadlocks can improve bead retention, but allowable pressure still depends on the complete setup. They do not remove rim, sidewall or carcass damage risks or override manufacturer limits.
Should front and rear UTV tire pressure be the same?
Check the specified settings for both axles because OEM guidance may differ front to rear. Tire sizing, axle load and vehicle design can justify different requirements without a universal prescribed difference.
Should I air down for sand or rocks?
Additional compliance may help some setups, but confirm that an adjustment is permitted for your tires, wheels and load. Compare the response carefully, inspect the assembly and restore the required configuration before changing riding conditions.